FastAPI 入门使用非常简单。本篇主要介绍安装、服务启动、路由配置、数据响应、文档生成等基础用法。
安装
你可以直接通过 pip install fastapi[all] 安装所有必要的组件。
也可以单独一个一个安装:
pip install fastapi

pip install uvicorn
在这个里面,uvicorn 是一个 web 服务器,负责把用户的请求发给 fastapi 程序。fastapi 框架本身是不带服务器的。
启动服务
通过 uvicorn 命令行uvicorn 脚本名:app对象 启动服务:
uvicorn demo_01_quickstart:app
reload 参数方便调试 加上 --reload 参数。
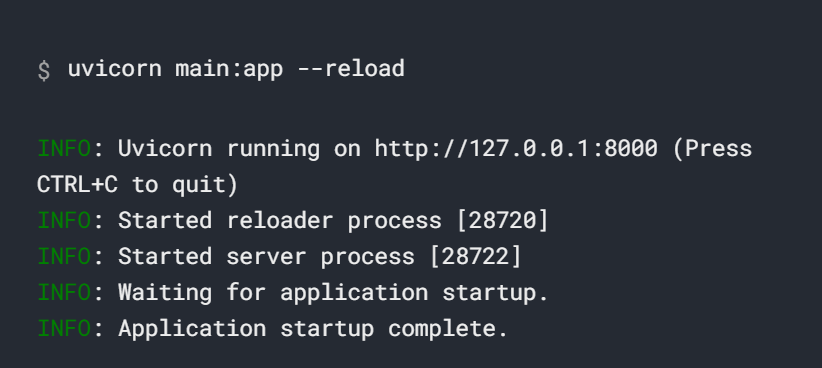
当使用 reload 参数以后,当你的程序有任何改动,服务器会自动重启,不需要手动重启服务器,调试会更加方便。
除了通过命令行方式启动,你也可以通过 python 程序运行服务器:
from fastapi import FastAPI

import uvicorn


app = FastAPI()


if __name__ == '__main__':

    uvicorn.run(app)
这种情况要使用 reload 则需要这样运行:
uvicorn.run('module:app', reload=True)
第一个参数要以字符串形式传递,否则会报错。
配置路由
fastapi 的用法深受 flask 的影响,对于绑定路由采用的通常是装饰器的形式。
@app.get('/')
def index():
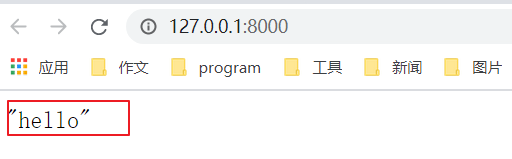
return "hello"
当在客户端访问 '/' 网址时,fastapi 会自动调用 index 函数,返回 "hello" 这个字符串。
2,如果想对同一个路由设置多个请求方式,可以通过 app.api_route() 设置。
@app.api_route('/', methods=['GET', 'POST'])

def index():

    return "hello"
3, 当然也可以像 django 那样采用集中注册
def index():

    return "hello"


app.add_api_route('/', index, methods=['POST'])
返回 json 格式数据
如果需要返回 json 格式的数据特别简单,只需要在试图函数后面返回对应的 python 数据类型就可以了。
@app.get('/')
def index():
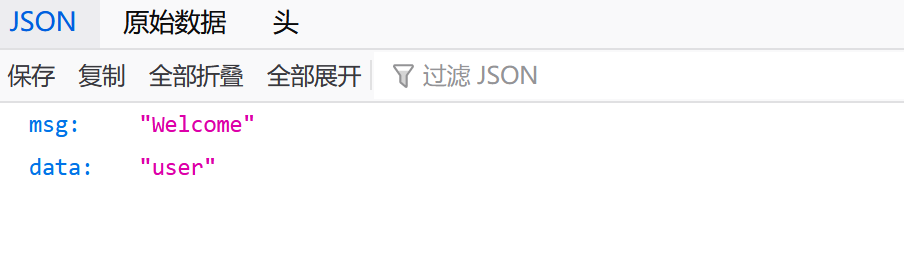
return {"msg": "Welcome", "data": "user"}
得到 json 数据:
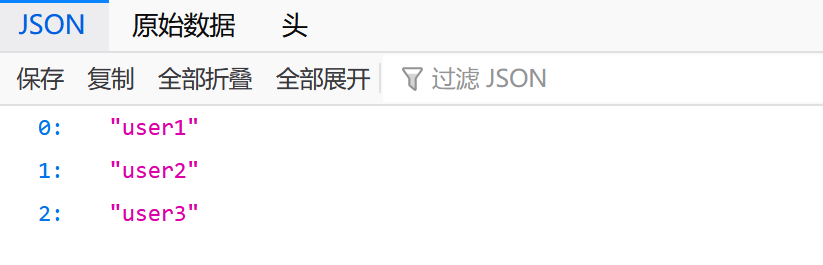
返回列表:
@app.get('/')

def index():

    return ['user1', 'user2', 'user3']
得到的结果:
查看文档
只要是编写了路由,都可以通过访问 /docs 和 /redoc 获取到文档。
/docs 是基于 swagger ui,类似于这样:
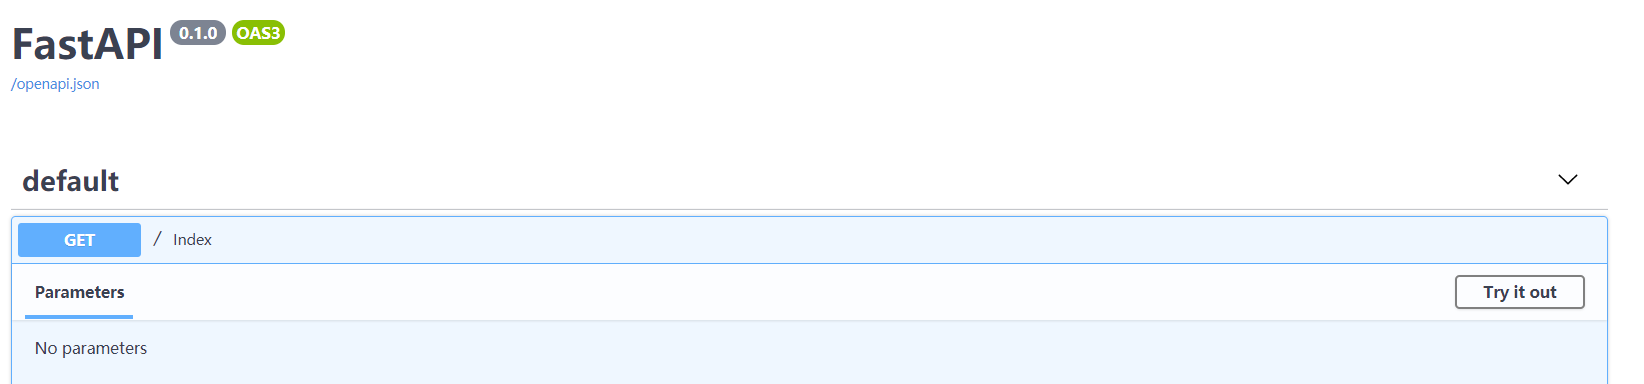
可以点击 Try it out 测试该接口,速度非常快。
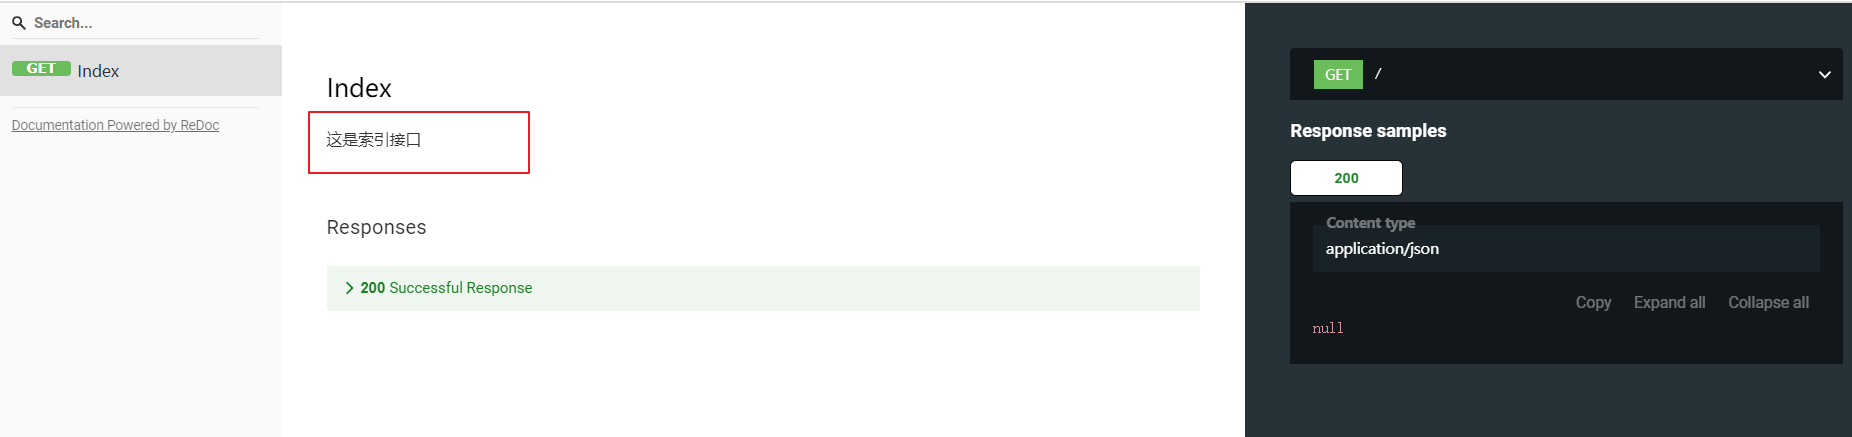
/redoc 的文档看起来回更漂亮一点。值得一提的是,视图函数当中 docstring 可以直接在文档中显示出来。
欢迎来到testingpai.com!
注册 关于